

Building a swimming pool is one of the most significant home improvement projects you can undertake. Most homeowners know roughly what they want when they start the process. Far fewer know what the construction process actually involves, how long each stage takes, who is responsible for what, and what decisions need to be made along the way.
This guide walks through the full swimming pool construction process from the initial site survey to the moment you take your first swim. Knowing what to expect at each stage makes the whole project easier to manage and helps you ask the right questions before work begins.
Before Construction Starts: The Site Survey and Design Stage
Good pool construction begins long before any ground is broken. A thorough site survey is the essential first step, and it shapes every decision that follows.
Your pool builder needs to understand the ground conditions beneath your garden, the gradient and drainage of the site, the access available for plant and equipment, the proximity of existing structures and services, and the orientation of the space relative to the sun and the house. Any of these factors can affect the design, the construction method, and the timeline.
This is also the stage where the design is finalised. Pool shape, size, depth, finish, and additional features such as steps, lighting, and covers all need to be confirmed before construction begins. Changes made once a digger is on site cost more and take longer than changes made on paper. Getting the brief properly nailed down before work starts is time well spent.
Planning Permission and Building Regulations
For most UK homeowners, a residential swimming pool falls under permitted development rights and planning permission isn’t required. That said, there are exceptions worth checking before you assume you’re in the clear.
Building regulations are a separate consideration. While pools themselves don’t typically require building regulations approval, the associated electrical installation does, and any pool house or structural work adjacent to the pool may need sign-off depending on its scale. Your pool builder should advise on what’s required for your specific project before any work begins.
Excavation: Where Construction Begins
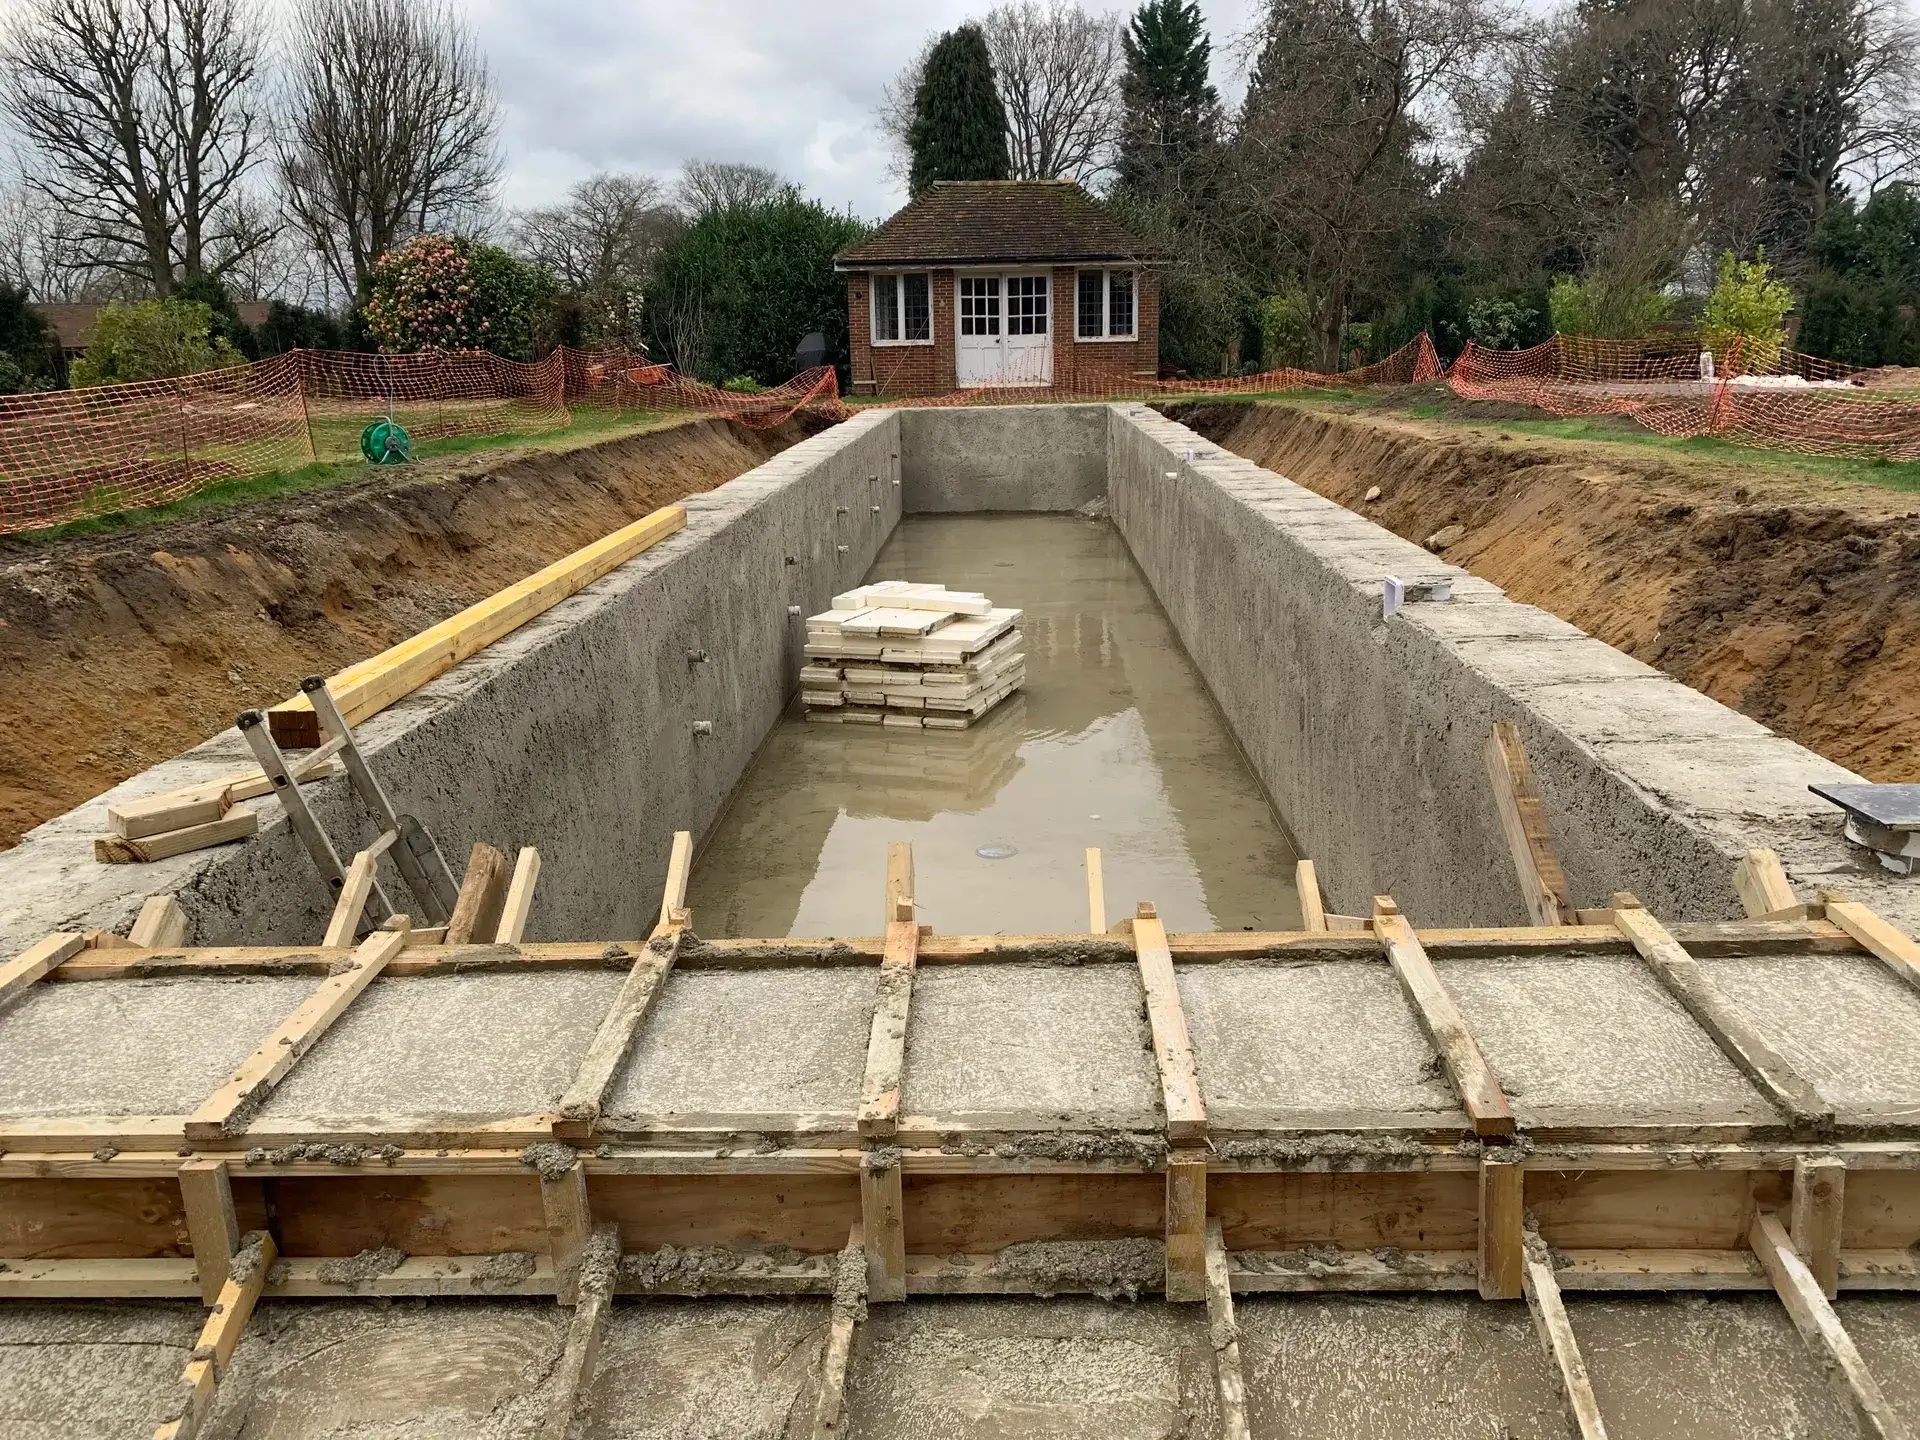
This is the stage where the project becomes real. The pool footprint is marked out, the digger arrives, and the ground is opened up to the depth needed for the shell, typically between 1.5m and 2m for most residential pools, plus the base layer and drainage beneath it.
It generates more spoil than most people expect. This is worth planning for in terms of access for skip lorries or removal vehicles, and it’s worth asking your builder early how the spoil removal will be handled and whether it’s included in the quoted price.
Ground conditions affect how excavation proceeds. Soft ground, rock, high water tables, and unstable subsoils all present different challenges, and a good builder will have assessed the ground conditions at the survey stage rather than discovering problems once the digger is in. The Hythe Project is a strong example of how ground conditions can be turned to advantage rather than treated as a problem. The garden sloped dramatically towards the English Channel, a challenge that became the defining design feature of the finished pool, with double drop coping stones creating the impression of an infinity edge framing the sea view. The project has since been shortlisted for the 2026 European Pool & Spa Awards, a reflection of what thoughtful construction on a challenging site can achieve.
Pool Shell Installation or Construction
What happens next depends on the construction method chosen.
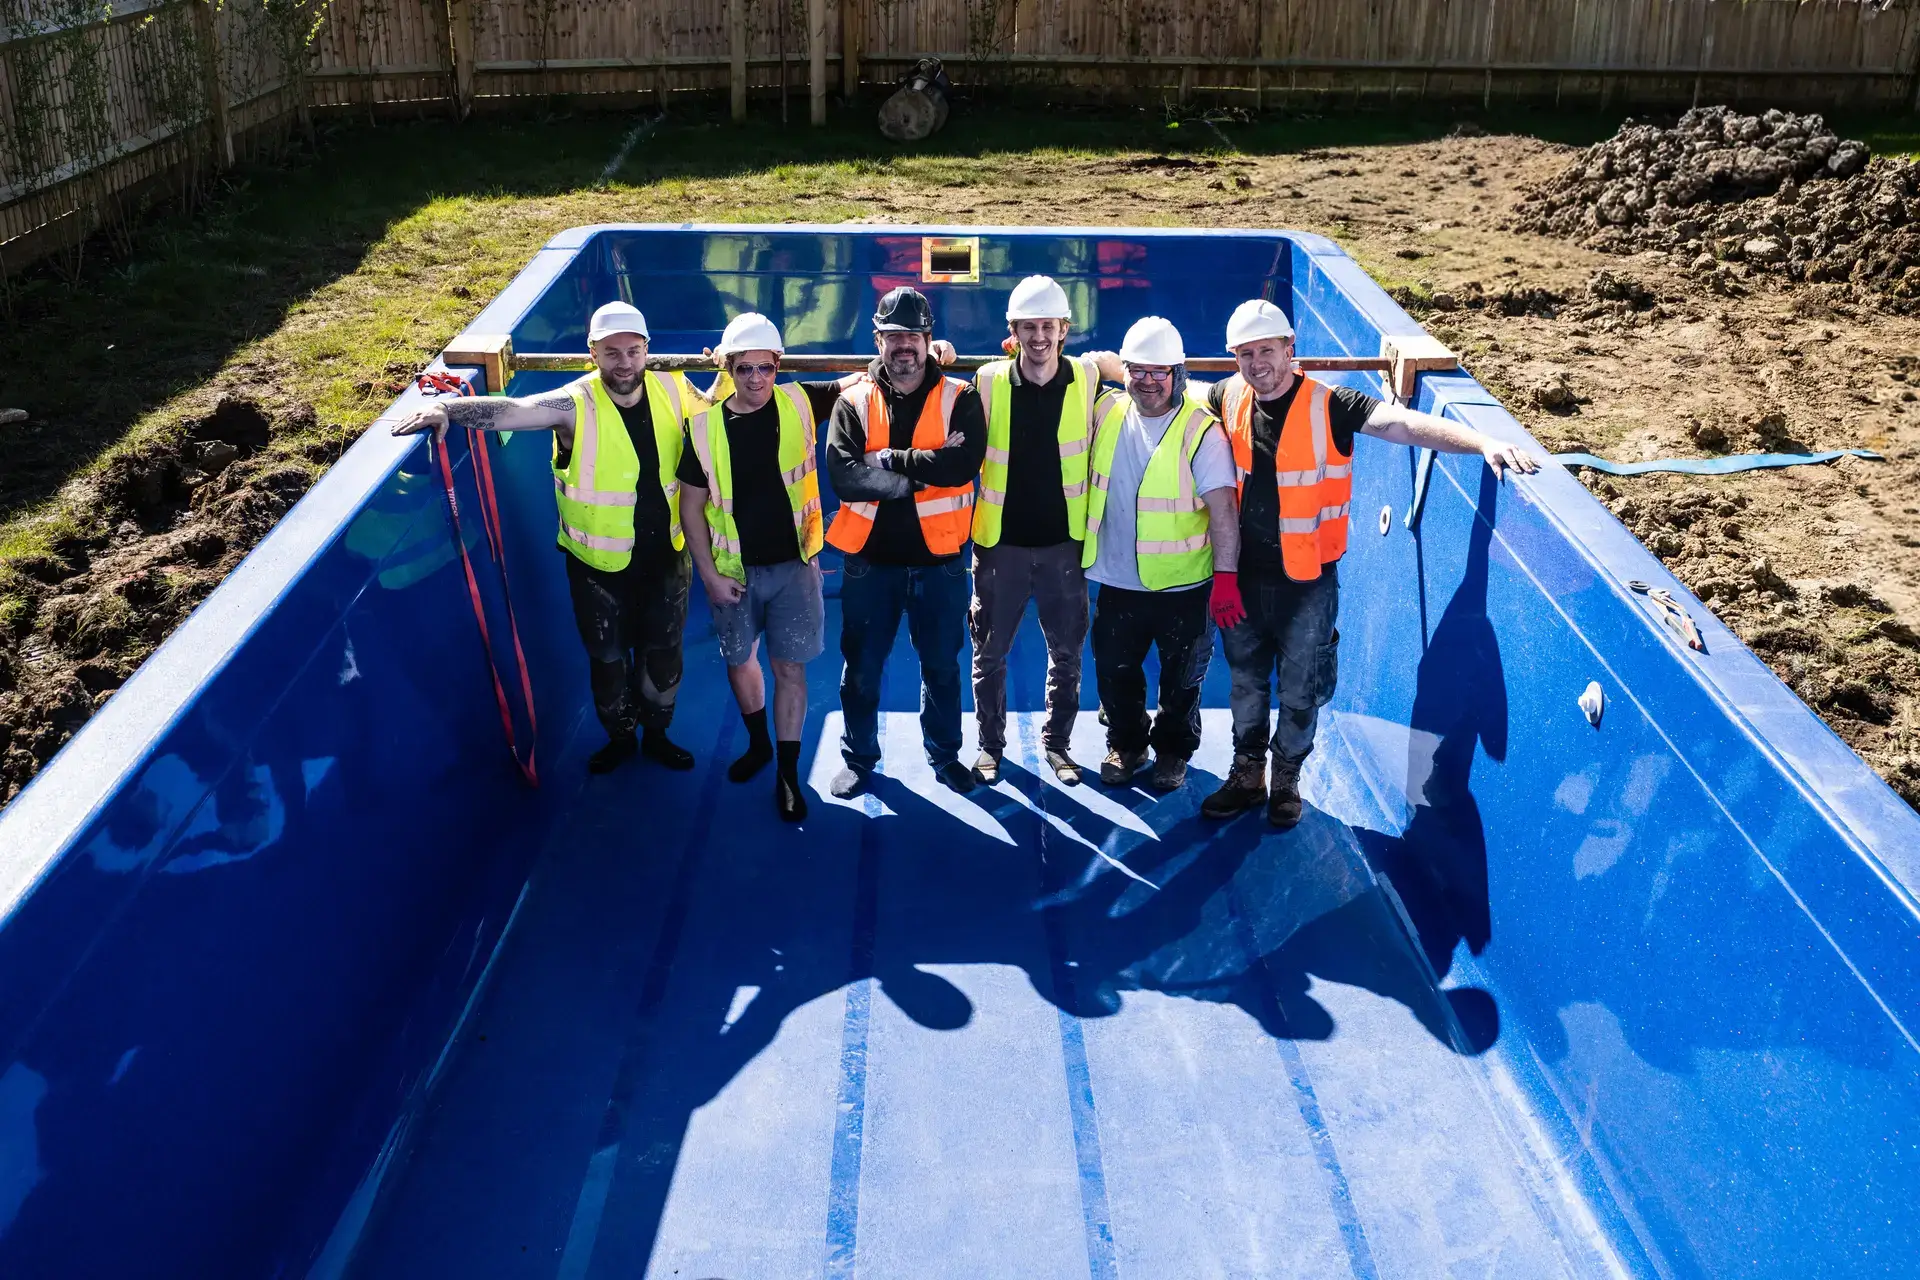
For a one-piece fibreglass pool, the shell arrives on site and is manoeuvred into the excavation. This is one of the most logistically interesting stages of the process. The shell travels on a lorry and needs a clear access route from the road to the excavation. Once in position, it is checked for level and alignment before backfilling begins. The speed of this stage is one of the key advantages of fibreglass construction – the shell can be in the ground within a day of arriving on site.
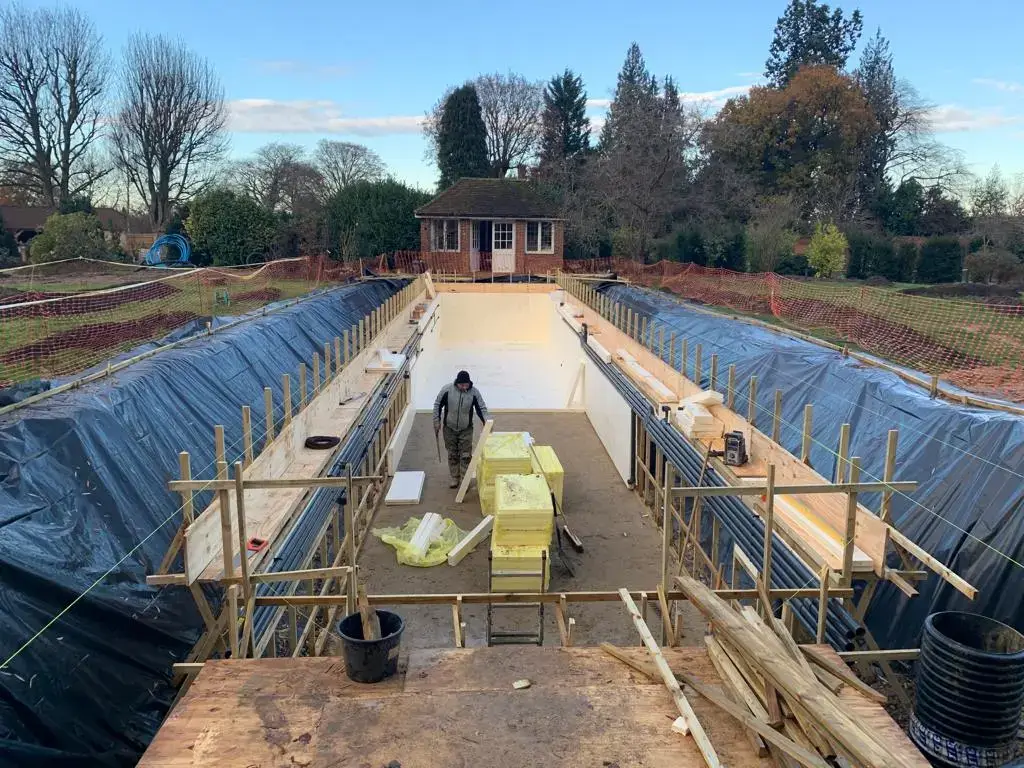
For a concrete pool, the shell is built on site over a period of weeks or months. Reinforcement goes in first, then the concrete is sprayed, rendered and the interior finish follows once the structure has cured. It takes longer than a fibreglass installation, but it opens up shapes and sizes that a one-piece shell can’t accommodate.
Regardless of construction method, the shell installation stage is when the pool starts to feel real. It’s also the stage where the surrounding groundworks, drainage, and pipe runs are installed, so there is significant activity happening simultaneously both inside and around the excavation.
Mechanical and Electrical Installation
Once the shell is in place, the mechanical and electrical systems are installed. This includes the filtration system, pump, heater, chemical dosing equipment, lighting, and any automation or remote control systems.
The pipework connecting the pool to the plant room is installed at this stage, and the plant room itself, which houses the filtration and heating equipment, is fitted out. A well-designed plant room with clear access and logical layout makes ongoing maintenance significantly easier over the life of the pool. It’s worth asking your builder about plant room design at the specification stage rather than accepting whatever space is left over.
Electrical installation must be carried out by a qualified electrician and signed off under Part P of the building regulations. All electrical work in and around a pool is subject to specific regulations regarding proximity to water, and these are non-negotiable.
Finishing: Coping, Surround, and Final Details
The mechanical work is behind the scenes. The finishing stage is what everyone sees. Coping goes around the pool perimeter, the terrace or decking is laid, and features like covers, water features, and lighting are fitted and tested.
It’s the stage that has the most visual impact on the finished result, and it’s where the details matter most. The choice of coping material, the colour and texture of the surrounding surface, and the way the pool edge meets the terrace all shape how the space looks and feels. It’s also the stage where small details matter. The quality of pointing, the alignment of coping joints, and the finish on pool surrounds all signal the overall standard of the build.
Water Fill, Chemical Dosing, and Handover
Once the finishing work is complete, the pool is filled with water for the first time. The water takes a few days to balance properly. pH, alkalinity, calcium hardness, and sanitiser levels all need to be brought into the right ranges, and this initial chemistry setup matters more than most people realise. Get it right from the start and the pool shell and equipment will be in better shape for longer.
Handover is when your builder walks you through how everything works. How to operate the filtration, what the heating controls do, what the maintenance routine looks like, and where the documentation for each piece of equipment is kept. A good handover takes time and shouldn’t be rushed. A good handover sets you up to look after the pool confidently from day one. Our seasonal pool maintenance guide is a useful reference once you’re up and running.
Choosing the Right Swimming Pool Construction Team
The quality of the finished pool is almost entirely determined by the quality of the team that builds it. Swimming pool construction involves groundworks, structural engineering, plumbing, electrical installation, and finishing trades working in sequence. Coordinating all of that well, on budget and on programme, requires genuine experience.
XL Pools has been managing swimming pool construction projects across Kent and the South East for years. Every project we take on starts with a proper site survey, and we’re with you from the first conversation through to handover and beyond. You can browse our completed pool projects to see the range of builds we’ve delivered, find out more about us on our about us page, or get in touch to discuss your project.


